
Use Ubuntu One for SSH
By default, Ubuntu Core runs an OpenSSH server to enable secure remote connections to the device.
Rather than requiring a password, the server is instead configured to authenticate connections with a public SSH key linked to the Ubuntu One account used to configure the device.
The process of creating and registering this key is described below.
Ubuntu One setup
Ubuntu One is a single sign-on service for Ubuntu and affiliated projects. If you already have an account, make sure you’re logged in. If you don’t have an account, go to https://login.ubuntu.com/ and select the “I don’t have an Ubuntu One account” option.
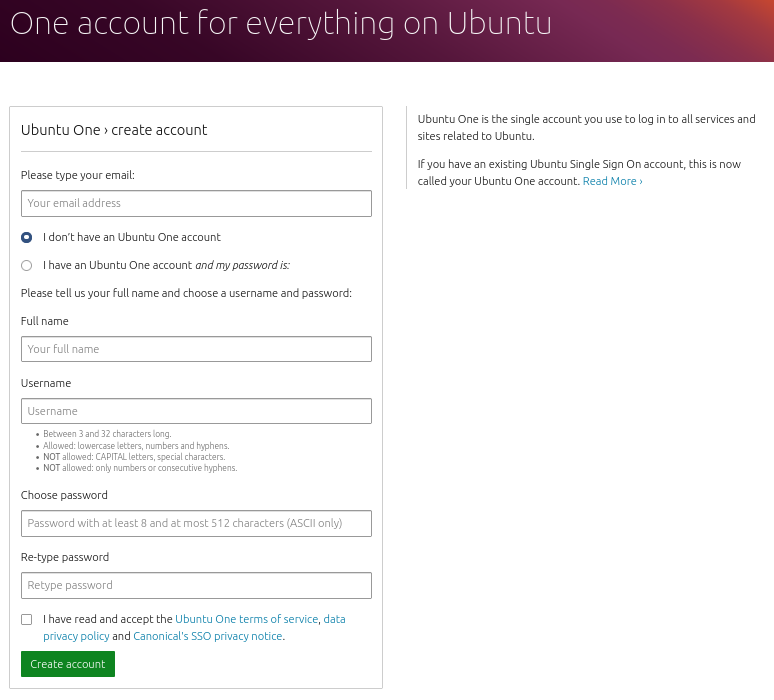
Fill out the form that appears. Your “full name” and “username” will be displayed next to any snaps you publish in the Snap Store, so you should choose appropriate branding. Use your organisation’s name for both if you are publishing or generating Ubuntu Core images on their behalf.
Ensure you read and accept the following:
Now select Create account. You will then receive an email asking you to verify your account. Click the verification link in the email and complete the reCAPTCHA challenge that follows. The account is now ready to be used.
Generate the SSH key pair
On Linux and macOS, the OpenSSH client package is usually pre-installed and this provides both the ssh command for connecting to servers and the ssh-keygen command used to generate an SSH public/private key pair.
First make sure you have the required directory, and that it has the correct permissions:
mkdir -p ~/.ssh
chmod 700 ~/.ssh
Now run ssh-keygen -t rsa to generate the key pair. You will be asked for a filename and a passphrase. You may want to call the file something related to your Ubuntu Core device, such as id_ubuntucore in the example output below, but this is arbitrary. A passphrase is not necessary but can add an extra layer of security.
This will generate a 2048-bit RSA key pair, which is secure enough for most use cases (you may optionally pass in the -b 4096 flag to the ssh-keygen command, to create a larger 4096-bit key).
If you now look at the contents of the ~/.ssh directory, you will see both the private key and the public key (with a .pub filename extension) as separate files:
$ ls -1 ~/.ssh/id*
~/.ssh/id_ubuntucore
~/.ssh/id_ubuntucore.pub
Upload the public SSH key
The contents of the .pub file needs to be uploaded to the Ubuntu One account you want to associate with your Ubuntu Core device.
To add a new key, first copy the contents of the .pub public key generated in the previous step. This can be done by copying the output from cat ~/.ssh/id_<yourkey>.pub on the terminal, or by using a tool like xclip:
xclip ~/.ssh/id_ubuntucore.pub
The contents of the public key file need to pasted into the Public SSH Key box beneath Import new SSH key on https://login.ubuntu.com/ssh-keys (or select SSH Keys after login):
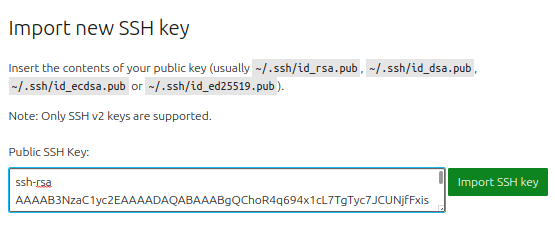
Click on Import SSH key to complete the process.
This SSH keys page lists all the keys associated with your account. It lets you delete those you no longer need, and add new keys.
Every key listed here will be added to the ~/.ssh/authorized_keys file on your Ubuntu Core devices when they are initialised, permitting SSH access to accounts with the private key.